Whether you’re a seasoned traveler or just starting out, creating videos that showcase your adventures is a great way to share your experiences with others. But with so many videos being shared online, it’s important to make sure that your travel videos stand out from the crowd.
In this blog, we’ll be discussing the various techniques and strategies you can use to make your travel videos look more polished and professional. We’ll cover everything from planning and preparation to shooting and editing, so you can create videos that truly capture the essence of your travels.
So why is it important to make professional-looking travel videos? A well-produced video can help you gain more followers and engagement on social media. It also helps to create a lasting memory of your adventure, and something that you can watch back and remember the good times.
In the next sections, we’ll be sharing our tips and tricks for making professional-looking travel videos. From planning your shots to editing your footage, we’ll be covering all the key steps you need to take to create videos that truly stand out. So keep reading to learn more, and start creating travel videos that will take your audience on an unforgettable journey!
Table of Contents
Planning & Preparation
When it comes to making professional-looking travel videos, planning and preparation are key. Before you even start filming, you need to take the time to research locations, scout for shots, and organize your equipment. By doing this, you’ll be able to create a plan of action that will help you make the most of your time on location and ensure that your footage looks as polished and professional as possible.
One of the most important things to consider when planning a travel video shoot is location research. Before you head out on your trip, take the time to research the places you’ll be visiting. Look for popular tourist spots, hidden gems, and other locations that will make for great video footage. Make sure to take note of the best time of day to shoot in each location, as well as any permit or access requirements you’ll need to be aware of.
Once you’ve done your research, it’s time to scout for shots. This means going out and physically visiting the locations you’ve identified, looking for the best angles and compositions for your shots. Take note of any obstacles or challenges you might encounter, such as bad lighting or crowded areas, and plan your shots accordingly.
Finally, make sure to organize your equipment ahead of time. This includes making sure you have all the necessary gear, such as camera, lenses, tripods, and audio equipment, as well as ensuring that your batteries and memory cards are fully charged and ready to go.
Shooting Techniques
Your shooting techniques can really make a difference when it comes to producing travel videos that appear professional. From the types of shots you use to the camera angles and lighting, the choices you make during the filming process will greatly impact the final look of your video.
One of the most important things to keep in mind when shooting a travel video is the use of different types of shots. Using a mix of wide, medium, and close-up shots will help to create a visually interesting video that keeps the viewer engaged. Wide shots are great for capturing the overall scene and setting the stage. In contrast, medium shots are great for capturing more detailed information and close-ups are perfect for showcasing specific elements or emotions.
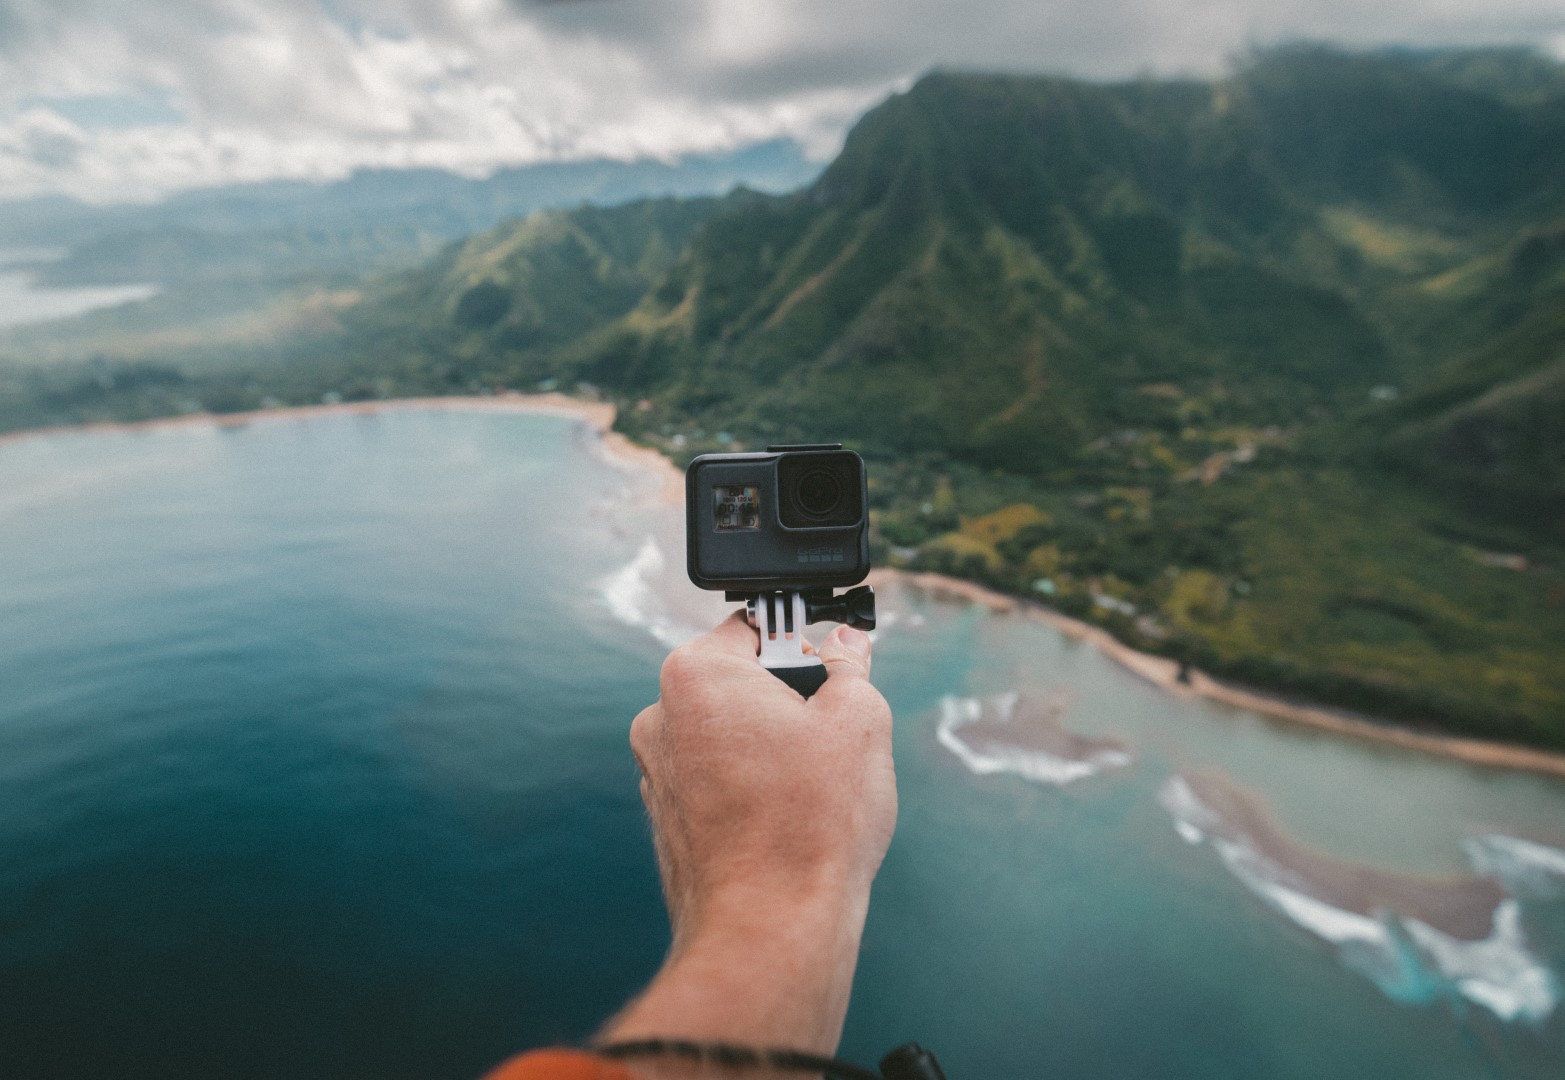
Another important aspect of shooting a travel video is the use of different camera angles. Using high, low, and straight-on angles can add depth and interest to your shots. High angles can be used to create a sense of awe and wonder, while low angles can be used to make the viewer feel as if they are in the scene. And straight-on angles can be used to capture a sense of realism and intimacy.
Lastly, lighting is an essential aspect of shooting a professional-looking travel video. Using natural light is always the best choice, but sometimes, you may need to use additional lighting to enhance the look of your video. For example, a backlight can be used to create a sense of depth, while a fill light can be used to reduce shadows and improve visibility.
By following these tips on shooting techniques, you’ll be able to create a visually interesting and engaging travel video that will capture the attention of your audience.

Editing and Post-Production
Once you’ve finished filming your travel video, the next step is to move on to the editing and post-production process. This is where you’ll take all of your raw footage and turn it into a polished, professional-looking final product.
The first step in the editing process is to go through all of your footage and select the best shots. This is the time to cut out any footage using a free video editor that is not relevant or that doesn’t add anything to the story. It’s also important to pay attention to the pacing of your video, as well as the overall flow and continuity of the shots.
Once you have your footage selected, the next step is to add music, sound effects, and voice-over. The right music can help to set the tone and mood of your video, while sound effects can help to bring the viewer deeper into the scene. Voice-over can be used to provide additional information or to add a personal touch to your video.
Another important aspect of post-production is color grading. This is the process of adjusting the color balance, saturation, and contrast of your footage to create a more polished look. By using color grading, you can create a sense of consistency throughout your video, as well as make certain elements stand out.
Finally, you can use other post-production techniques such as motion graphics, transitions, and visual effects to enhance the look of your travel video. These can add an extra layer of polish and professionalism to your final product.
Conclusion
Making professional-looking travel videos takes a combination of planning, preparation, and a variety of shooting and editing techniques. From researching locations and scouting for shots to using different types of shots and camera angles to editing footage and adding music, sound effects, and voice-over, these tips and tricks will help you create a polished and professional-looking final product.
It’s important to keep in mind that making a professional-looking travel video takes time and practice, but by following these tips, you’ll be well on your way to creating videos that truly capture the essence of your travels and inspire others to do the same.
If you’re looking to take your travel video skills to the next level, there are many additional resources available online. From tutorials on editing software to tips on shooting techniques, the internet is a wealth of information for those looking to improve their travel video skills.
We encourage you to put the tips and tricks discussed into practice when making your own travel videos and don’t hesitate to seek out additional resources to help you on your journey. Happy filming!


